
1. Create a web assembly application
Using DotNetCore Blazor Framework framework to create a web assembly application is very easy. Just install DotNetCore, and type the following command:
dotnet new blazorwasm -n MyApp
It will create a web assembly application for you. Goto folder MyApp, type:
dotnet run
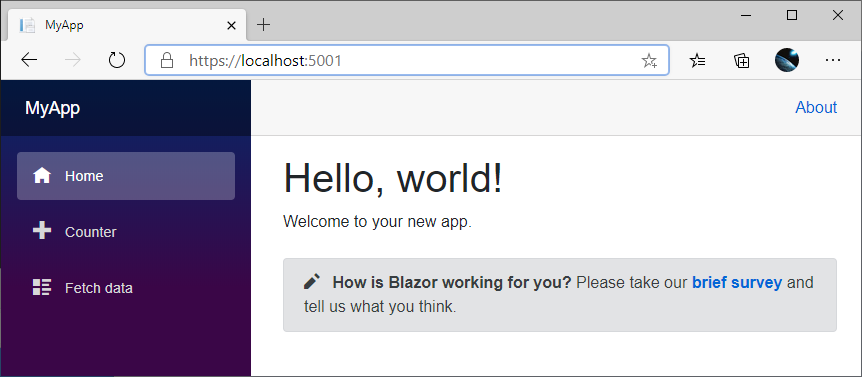
Then you can launch your browser, navigate to https://localhost:5001, you should see the application:
Type the following command to publish your application:
dotnet publich -c Release
Your application will be published into: MyApp\bin\Release\netstandard2.1\publish\. There is a wwwroot
folder under that publishing location. The next step is publish the wwwroot folder to azure storage as
a static website.
2. Create an azure storage account and enable static website
Login to azure portal, create a storage account:

Please make sure Account kind is StorageV2. Only this one supports static website.
Go to the storage account just created, select Static website on the left panel to enable it:
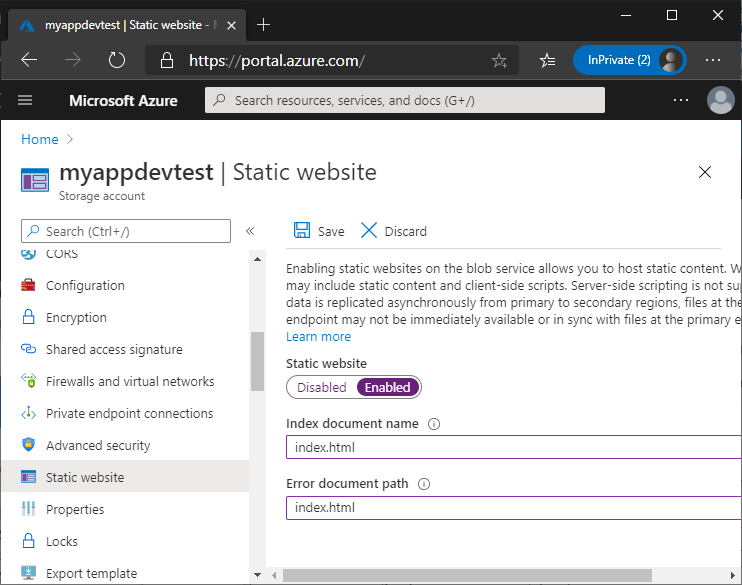
Make sure both Index document name and Error document path are filled with index.html.
Select Storage Explorer on the left panel, open BLOB CONTAINERS node, you should see a $web node.

3. Upload application
Install azure cli from here. Type az login
to login your account. Go to the wwwroot folder which is published in step 1, type the following command
to upload your application:
az storage blob upload-batch -d $web -s . --account-name <your_storage_account_name>
After uploading, your $web container should be looked like this:

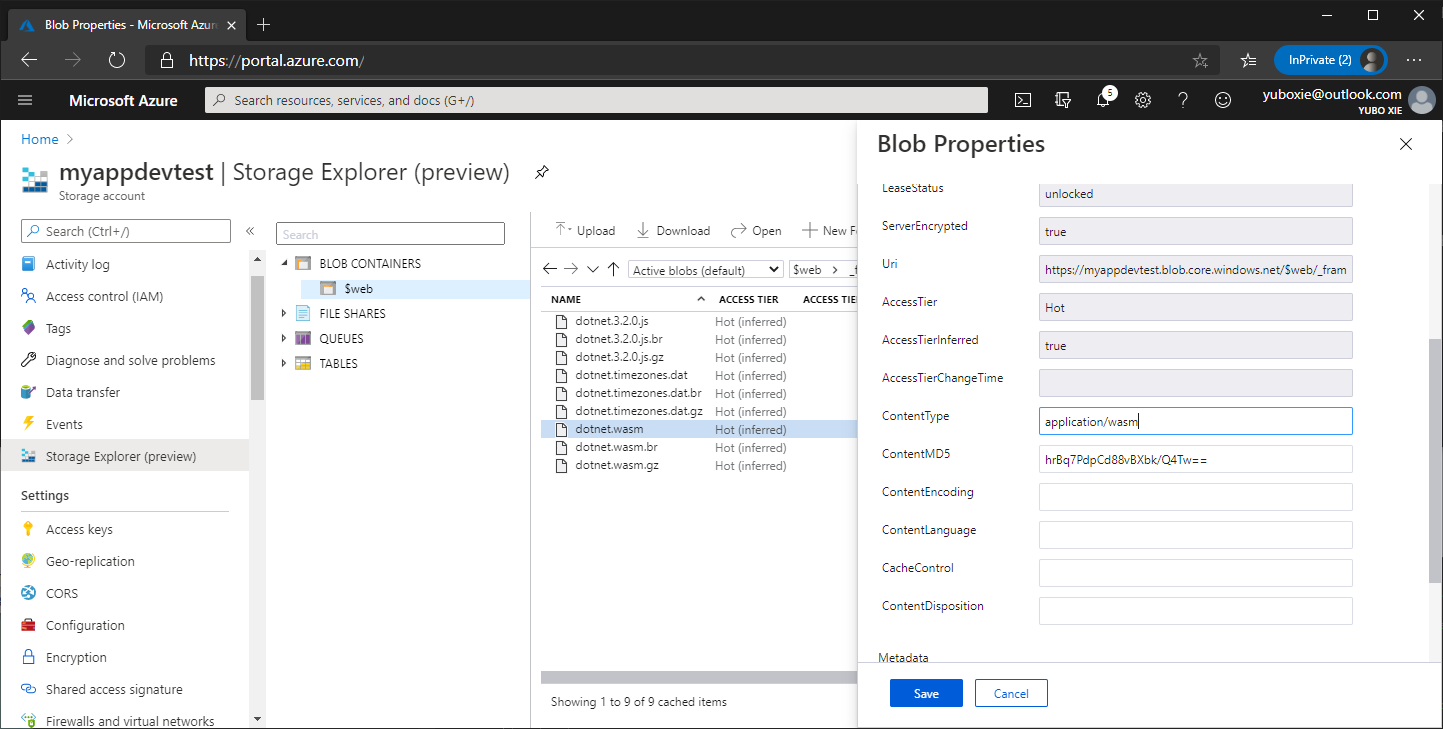
Go into $web > _framework > wasm, make sure the CONTENT TYPE of the file dotnet.wasm and dotnet.wasm.gz
are application/wasm:

If not, right click the file, select properties..., and change it:
4. Verify
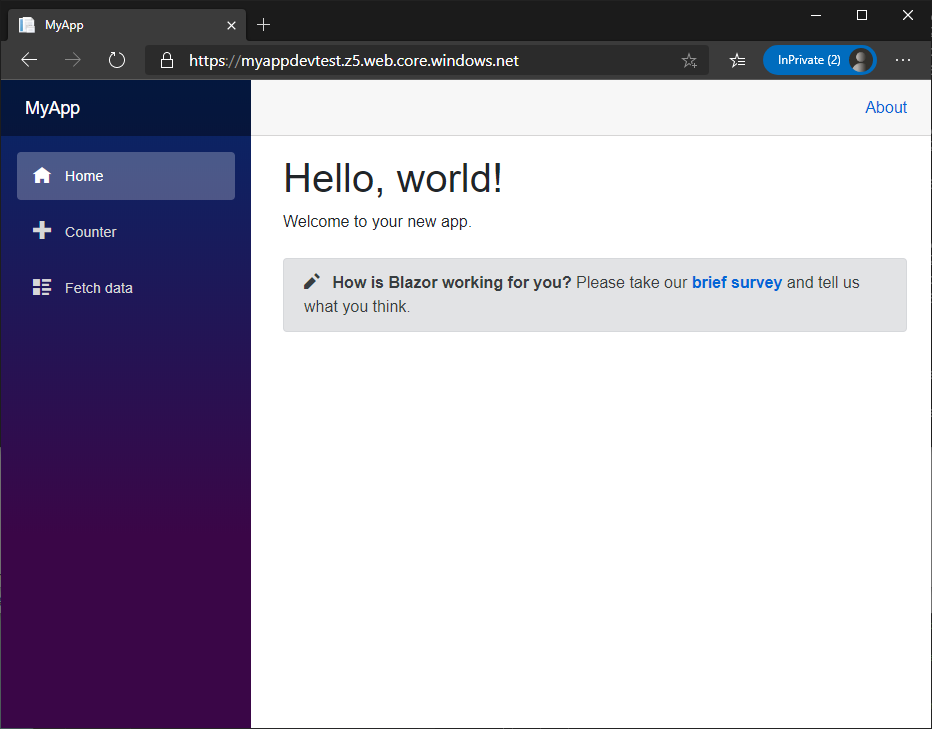
Go back to Static website on left panel, you should see the Primary endpoint on the right panel:

Paste that address in your browser, you should see your application:
5. Next
In the next post, we will see how to enable HTTPS and custom domain for your application.