
In the previous post, we introduced how to enable HTTPS and custom domain on azure storage static website. In this post, we will introduce how to enable HTTPS and root domain.
1. Create SSL certificate
Azure doesn't support issuing SSL certificate for root domain, so you need create one by yourself. Fortunately, you don't need speed hundreads of dollars to by a SSL certificate, you can use certbot to create one for free. Open your Linux terminal (if you are on windows, you can use WSL as well), type the following command to install certbot:
sudo apt-get update
sudo apt-get install certbot
sudo certbot certonly -d <your_domain> --manual --preferred-challenges dns
<your_domain> must be exact as your domain you want to use in Azure CDN (like devtest.pm we used in this example). Certbot will ask
you some questions, like your email address and whether agree to record your IP address (you must agree it). After that, certbot will
give you information to configure your domain DNS to verify the domain's ownership:

Follow the instruction to modify your DSN record, and press enter to continue. Certbot will create a SSL certificate for you. Please note the output of certbot, your certificate path is in it:

Certbot separates the certificate and private key file, we need use the following command to combine the two files to create a pfx file
which is used by azure:
sudo openssl pkcs12 -export -out <your_domain>.pfx -inkey /etc/letsencrypt/live/<your_domain>/privkey.pem -in /etc/letsencrypt/live/<your_domin>/fullchain.pem
You need input the export password. You can input what you want, but please remember it. You will use the password later.
The drawback of certbot is the expiration is short. Normally, only three months. Please remember to renew it. Some domain registrars provide free certificate which normally has one year expiration. You can also follow your domain registrar's instruction to create SSL certificate.
2. Import the certificate to azure
We need import the certificate to azure, so that Azure CDN can use it. You need create a Key Vault azure service to store your certificate.
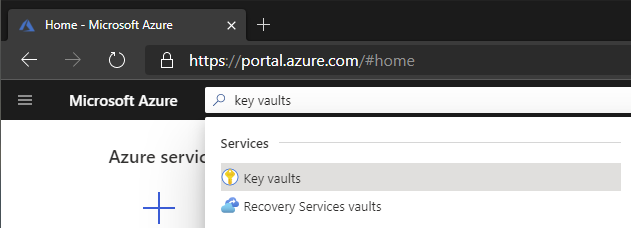
Login to azure portal, search Key Vault:
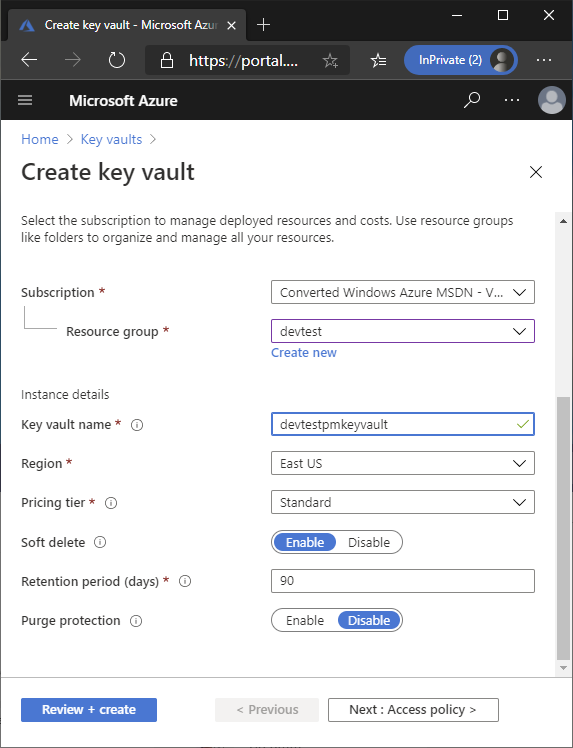
Click + Add button, fill some information and click Review + create button to create it:
Go to the Key Vault you just created, select Certificates on the left panel, click + Generate/Import on the right side:

Fill some information to import your certificate created in step 1. The password is the export password you use to create the pfx file:

After clicking Create button, you can see your certificate has been imported into the azure:

Now we need give the permission to Azure CDN to access your certificate. Click the Cloud Shell button on the top of azure portal:

Type the following command in the cloud shell:
New-AzADServicePrincipal -ApplicationId "205478c0-bd83-4e1b-a9d6-db63a3e1e1c8"

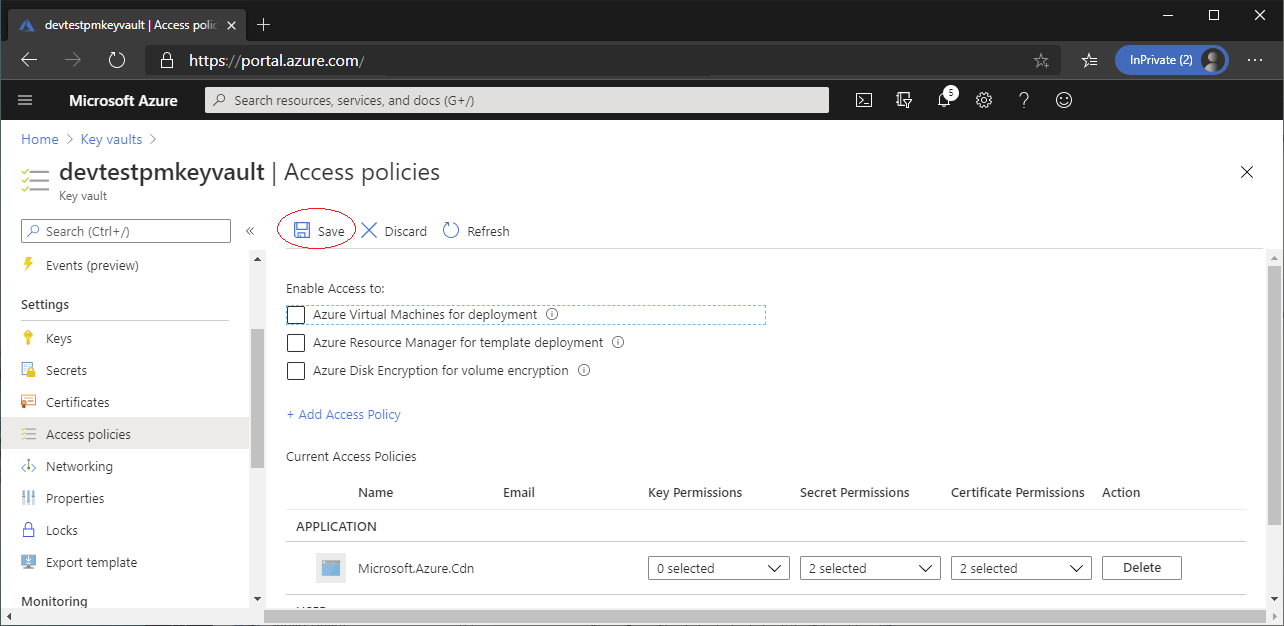
Then go back to Key Vault service, select Access policies on the left panel, click + Add Access Policy:

Search Microsoft.Azure.Cdn (or the guid value 205478c0-bd83-4e1b-a9d6-db63a3e1e1c8), select it:

Grant Get and List permission in Key permissions and Secret permissions:

Remember to Save your changes:
3. Add root domain in Azure CDN
Before adding the root domain in Azure CDN, we need configure the DNS record first so that azure can verify the
ownership of the domain. Normally, if we want to add a custom domain like www.xxxx.com, we need create a CNAME
record of our domain pointed to the Azure CDN endpoint, like we does in the previous post.
But for root domain, the situation is different. CNAME record can't be present with other dns records. That means,
if we add a CNAME record of our domain, we can't add MX record for our domain. That means, we can not use @xxxx.com
as our email address. So for root domain, we need do some special things: add a CNAME record for domain ownership verification,
and add a A record for domain resolving.
For example, if our domain is devtest.pm, and our Azure CDN endpoint is myappdevtest.azureedge.net. We need add
a CNAME record for **cdnverify**.devtest.pm pointed to **cdnverify**.myappdevtest.azureedge.net, and add a A
record for devtest.pm pointed to the ip address of myappdevtest.azureedge.net. After that the DNS records looks
like:

After modifying DNS records, let's go back to azure portal, select our Azure CDN endpoint, select Custom domains
on the left panel, and + Custom domain on the top, to add our root domain as the custom domain:

After adding, click the domain item, to enable HTTPS. Select Use my own certificate in Certificate management type,
choose your Key vault service name, and select the certificate uploaded in step 2, click Save to apply changes.
The whole process might take 5 to 10 minutes. Once you see three green check in status, that means your domain is ready
for use:

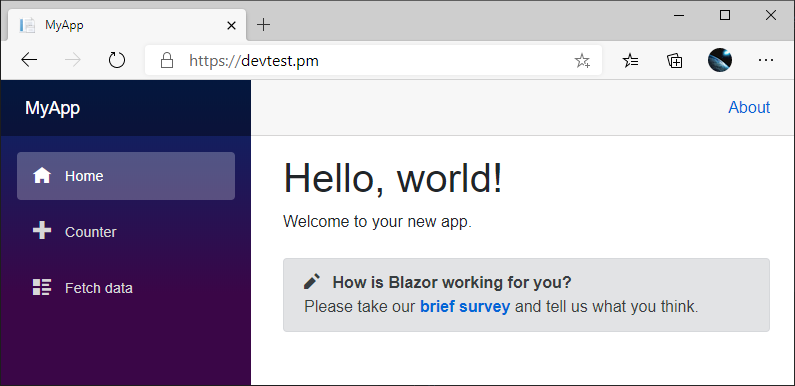
Open your browser, navigate to https://yourdomain, you should see your application:
4. Last, redirect subdomain to root domain
Now, we have enable HTTPS on both subdomain (www.xxxx.com) and root domain (xxxx.com). But normally, we only want
user to use one domain only. Root domain is shorter than subdomain, so we want to redirect all requests from subdomain
to root domain.
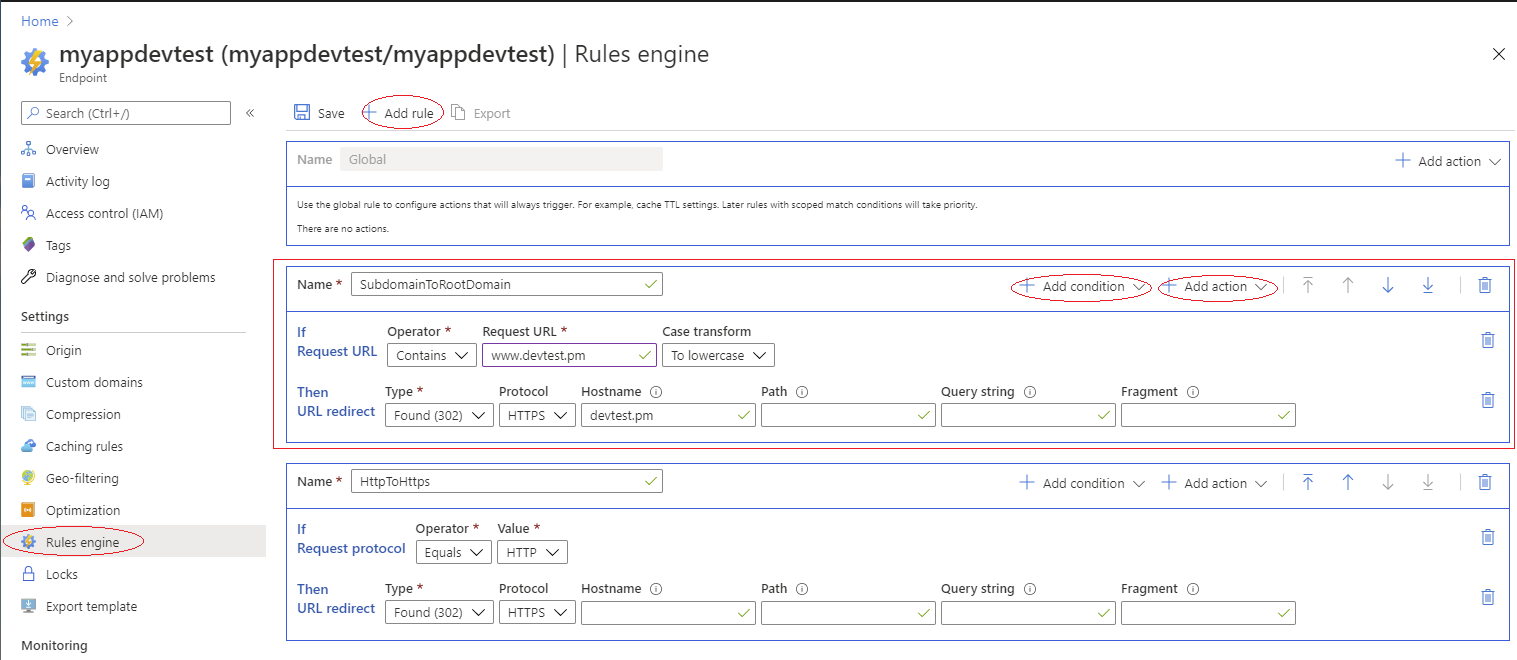
Let's go to our cdn endpoint, select Rules engine on the left panel, create another rule. Add a condition for Request URL
and an action for URL Redirect like this:
After saving your changes, open browser, navigate to https://www.yourdomain.com, you should be navigated to https://yourdomain.com.
We are finish. Cheers ~~ ✌